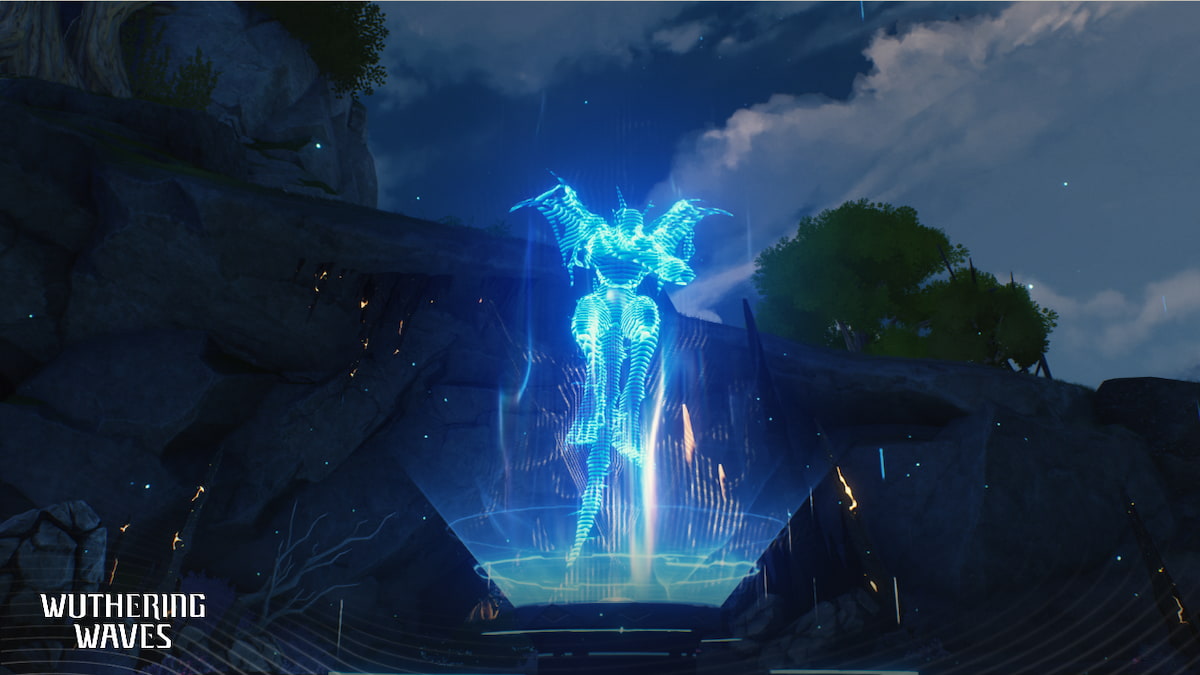
Wuthering Waves – Tactical Hologram Boss Difficulty, ranked
The Tactical Hologram bosses are the most difficult content you can tackle in Wuthering Waves. There are four bosses total, so if you're looking to tackle them from easiest to hardest, here they all are ranked.All Tactical Hologram Bosses Ranked in Wuthering WavesRight before I jump into the ranking process, understand that the difficulty of boss encounters in Wuthering Waves depends on several factors, with one of the largest being personal skill. As such, this ranking is based entirely on my own skill level, which may be lesser or greater than yours. For a little context, I am currently on Difficulty 6 on every one of the Tactical Hologram bosses so far, so the rankings will be based on Level 5. I believe this still pretty much paints the same picture, however. Disclaimer over. The following ranks are from easiest to hardest.Impermanence HeronScreenshot by DestructoidThe deranged death bird is the easiest of the Tactical Hologram bosses because its patterns are simple to understand. There is little complication to any of the Impermance Heron's attacks, and if you die to it, you very clearly get why. Its attacks have massively obvious tells (minus a certain sidestep wing sweep move) making it easy to read for counterplay. Additionally, this overgrown bird is quite slow, allowing you plenty of time to react to it. It has very few parry windows that matter, and each one is easy to land once you've got the timing down for them. Overall, an easy boss. Most people shouldn't struggle too much up to about Difficulty 4, but that's only because all of the Tactical Hologram bosses get much harder then.Feilian BeringalScreenshot by DestructoidThis giant ape is a bit harder than the Impermance Heron, due to being faster and more relentless with its continuous attacks. However, for most people, Feilian Berginal's speed won't be much of an issue due to how telegraphed its attacks are. All of them have large wind-ups, so you have plenty of time to react, and they're often so large that they straight-up miss you if you don't do anything. What puts this ape over the Heron in difficulty is its seemingly large health pool and log-spin attack. First, Feilian Beringal has a lot of health to burn through to beat the timer, meaning you need to be fishing for counterattacks every chance you get, especially at lower gear levels. Early on, I found this aspect of the monkey to be the hardest part to deal with. However, Feilian Beringal also has a special attack he performs on occasion when he gets access to his log. He will begin to spin around rapidly for about ten seconds, in which, during this time he can one-shot you if any portion of it hits you. What makes this move particularly dangerous is that the animation of the spin does not match the actual hurt-box that can, well, hurt you, meaning you can die to an attack you cannot see. The best counter for this is to literally spam dodge during the spin attack, and counterattack after each one. The extended i-frames from the counter will allow you to survive the entire animation, and you get more damage out of it.Mourning WixScreenshot by DestructoidOof. I have a lot to say about this boss. Rough around the edges doesn't even begin to describe it, because this monstrosity has so many glitches, camera bugs, and one-shot mechanics that, when all combined together, make this one of the hardest bosses in the entire game. Mourning Wix is no joke even without all the bugs, as everything it does is just generally annoying. This monster constantly mixes slow, easy-to-spot attacks with lightning-fast ones that catch you off guard. Worse, this beast spams a cyclonic blade swarm attack that requires you to memorize which attack it used before it, to understand how many times you need to press your dodge button, otherwise you die. Not joking. It literally uses different variants of this move depending on that. Generally speaking, you want to parry every single one of its parry-able attacks, as it reduces the frequency of cyclonic blade swarms you'll have to deal with. Trust me when I say, it's worth the trouble. The harder the difficulty you choose, the more important those parry windows become.Thundering MephisScreenshot by DestructoidThundering Mephis is easily the most difficult boss in Wuthering Waves as a hologram. This boss is extremely fast, and constantly barrages you with kill moves that require very fast reaction times to avoid. On top of this, the boss disappears constantly, reducing your overall DPS on him unless you parry his attacks on an equally consistent basis. I'd say that this boss is nearly impossible to kill in time if you don't parry most of his moves, currently.What truly makes this boss a nightmare is its infuriating clone that it spawns at random while attacking you. The clone can appear at a moment's notice, and attack with lightning speed. It can appear off the edge of your screen and blast you while you focus on the main body. It can unleash Thunder Mephis's mass AoE instant kill move, while the main body blasts you from off-screen. There are just so many combination attacks that clutter the scene that it's often hard to tell what even happening. You're dealing with this while dealing with relentless attacks of Thunder Mephis, constantly. Everything both the main body and clone do can one-shot you. All it takes is one tap, and you're done. If this wasn't enough for you, then know that you can parry the clone's attacks. Normally, you're rewarded for doing this, but if you manage to pull off this feat, even by accident you're frozen in place, camera and all, and are unable to dodge, swap characters, or generally defend yourself for about one second. This is enough time for Thundering Mephis to outright kill you. Part of me thinks is another bug, but, honestly, I'm not even sure.What I am sure of, though, is that there is no more difficult boss than this monster in Wuthering Waves.The post Wuthering Waves – Tactical Hologram Boss Difficulty, ranked appeared first on Destructoid.


